(Bêta) Modifier les contrats principaux
Objectif
Modifier un contrat principal.
Contexte
Vous pouvez modifier un contrat à tout moment. Pour protéger les données financières de vos contrats contre les ajouts, les mises à jour ou les suppressions accidentelles, seuls les utilisateurs disposant des « autorisations utilisateur requises » peuvent modifier un contrat. De plus, le paramètre par défaut de Procore est d'empêcher les utilisateurs de modifier la ventilation des coûts (VDC) lorsque le contrat est dans le statut « Approuvé ».
Éléments à prendre en compte
- Autorisations utilisateur requises :
- Autorisations de niveau « Admin » dans l'outil Contrats principaux du projet.
- Informations supplémentaires :
- Le paramètre par défaut de Procore est d'empêcher tous les utilisateurs de modifier la VDC d'un contrat principal lorsque celui-ci est dans le statut « Approuvé ». Par exemple, vous ne pouvez pas modifier une VDC sur un contrat principal en statut « Approuvé ». C'est également le cas lorsque la VDC d'un ordre de changement au contrat principal (OCCP) ou d'une facture au maître d'ouvrage a le statut « Approuvé ».
- Bien qu'il s'agisse d'un paramètre peu courant à activer, vous pouvez configurer un contrat pour que les utilisateurs disposant des « autorisations utilisateur requises » puissent le modifier, qu'importe son statut. Pour en savoir plus, consultez Qu'est-ce que le paramètre « Activer la ventilation des coûts toujours modifiable ?
Conditions préalables
Procédure
Modifier un contrat principal
- Accédez à l'outil Contrats principaux du projet.
- Recherchez le contrat à mettre à jour dans la liste.
- Cliquez sur son lien Numéro pour l'ouvrir.
- Cliquez sur le bouton Modifier le contrat.
- Choisissez parmi ces options :
Modifier les informations de base
Update the basic contract information as follows:

Notes
- There are no required fields when adding the basic contract information.
- If you click the Create button without completing any data entry, Procore saves the prime contract, lists you as the creator, and automatically places it in the Draft status.
- Number
To number your contract(s), choose from these options:- If you number your contracts using a sequential numbering system, you can enter any combination of alpha-numeric characters in this box. For subsequent contracts, Procore automatically applies consecutive numbering in ascending order.
Example
The examples below show you how Procore's ascending consecutive numbering works:
- If the previous contract was 1, the next contracts are 2, 3, and so on.
- If the previous contract was PC-0001, the next contracts are PC-0002, PC-0003, and so on.
- If the previous contract was DCA00010-12-G-0001, the next contracts are DCA00010-12-G-0002, DCA00010-12-G-0003, and so on.
- If you do NOT number your contracts using sequential numbering, you can manually enter a unique number for each prime contract. To do this, type over the existing entry in the Number box. Duplicate contract numbers are NOT permitted.
- If you number your contracts using a sequential numbering system, you can enter any combination of alpha-numeric characters in this box. For subsequent contracts, Procore automatically applies consecutive numbering in ascending order.
- Contract Company
Select the name of the company performing the work or supplying materials for this contract. To appear as a list option, see Add a Company to the Project Directory. - Title
Type a descriptive name for the contract.
Modifier les informations générales
Update the contract with more general information:

- Status
Procore automatically assigns contracts the 'Default' status. To select a different status, choose one of the status labels from the drop-down list. Options include Draft, Out for Bid, Out for Signature, Approved, Complete, or Terminated.Note
To create Prime Contract Change Orders (PCCOs) and owner invoices, your prime contract's status must be set to Approved or Complete. - Executed
Place a mark in this check box if the contract has been fully executed. A fully executed contract is a legally effective agreement that has been signed by authorized representatives for each party. - Default Retainage
Enter a number to represent the percentage that will be withheld as retainage on the line items of the contract's Schedule of Values. For example, if you plan to withhold ten (10) percent of the line item's value, enter 10%. - Contractor
Select the 'Contractor' from this drop-down list. This is the company that your team hired to perform the work. To appear as a list option, Add a Company to the Project Directory. - Architect/Engineer
Select the lead architect or engineer for the project from this drop-down list. To appear as an option in this list, the company must have a record in the Project Directory. - Description
Enter a more detailed description of the prime contract. You can apply the options in the formatting toolbar to your text.
Modifier les privilèges d'accès
By default, prime contracts are visible to all users with 'Read Only' level permissions or higher on the project's Prime Contracts tool. To change its access permissions, do the following on the 'Contract Access' card:
- Optional: Move the Restrict This Contract's Visibility to Only Project Admins and Select Non-Admin Users toggle to the left or right to turn the restriction OFF and ON. Procore turns this setting ON by default.
Notes
- The toggle is BLUE when restrictions are turned ON.
- The toggle is GRAY when restrictions are turned OFF.
- Optional: To provide users with 'Read-Only' or 'Standard' level permissions on the project's Prime Contracts tool with access to the contract, select the person's name from the Access for Non-Admin Users drop-down list. To appear as an option in this list, a user must have a profile in the Project Directory.

- Optional: To provide the users in the 'Access for Non-Admin Users' list with access to view the Schedule of Values, mark the Allow These Non-Admin Users to View the SOV Items checkbox.
Modifier les dates
To update the prime contract with important dates, do the following:
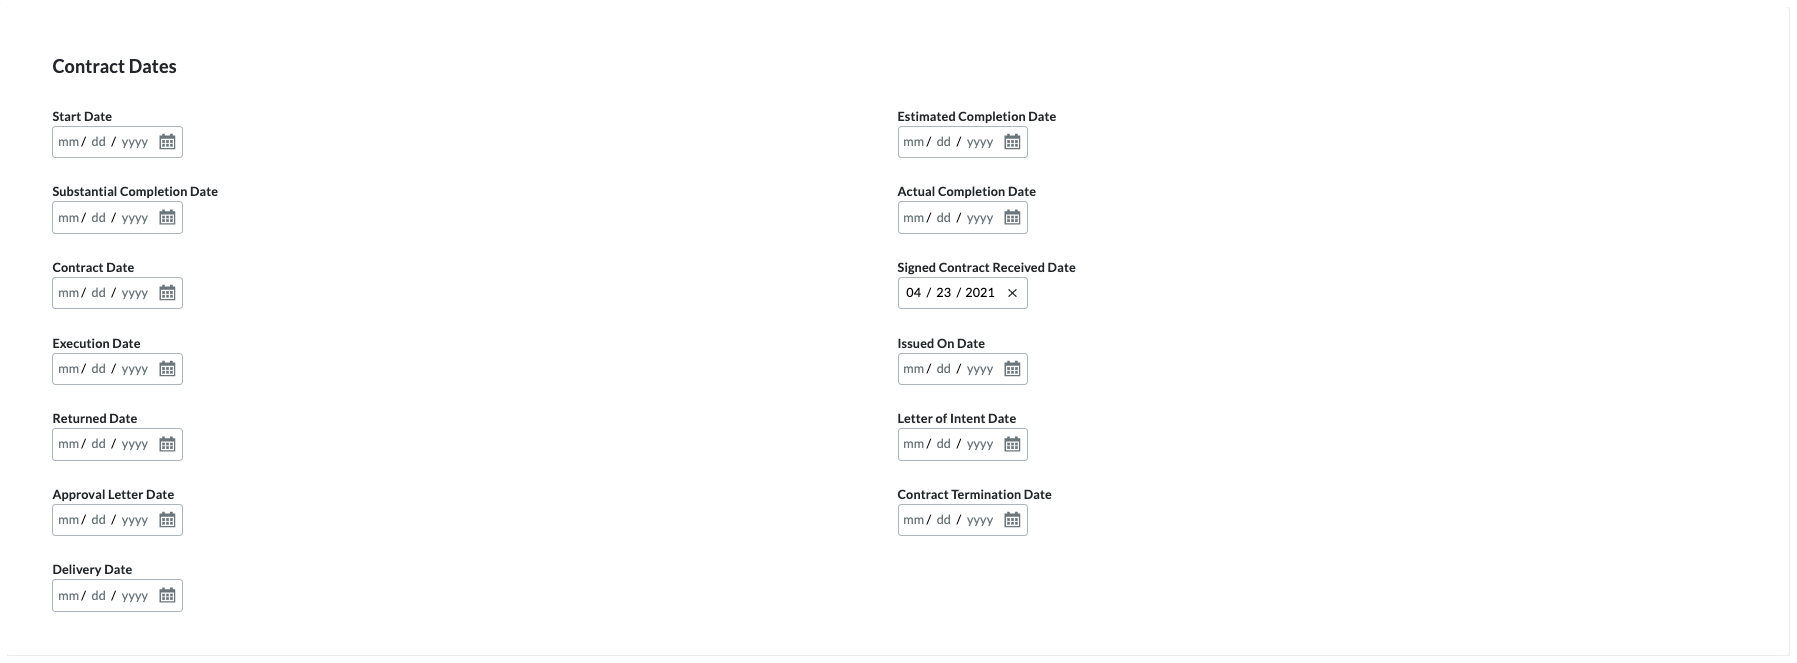
Note
Your company's Procore Administrator manages the dates that appear in the 'Contract Dates' section using the configurable fieldsets feature. For details, see Which fields in the Prime Contracts tool can be configured as required, optional, or hidden?- Start Date
Select the construction project's official start date. - Estimated Completion Date
Select the construction project's estimated completion date from the calendar control. - Substantial Completion Date
Select the construction project's substantial completion date from the calendar control.Tip
If the 'Substantial Completion Date' field is available on your project, keep in mind that Procore automatically updates the 'Substantial Completion Date' to match the 'Revised Substantial Completion Date' from each Prime Contract Change Order (PCCO) when each change order is 'Approved.' - Actual Completion Date
Select the construction project's actual completion date. - Contract Date
Select the contract date from the calendar control. - Signed Contract Received Date
Select the date from the calendar control. The signed contract received represents the date that the executed contract was received. - Execution Date
Select the date from the calendar control. The execution date represents the date the agreement was signed by authorized representatives of all contract parties. - Issued On Date
Select the date from the calendar control. The issued on date represents the date the contractual agreement was issued to both parties. - Returned Date
Select the date from the calendar control. The returned date is the date the contract was returned. - Letter of Intent Date
Select the Letter of Intent (LOI) date from the calendar control. - Approval Letter Date
Select the Letter of Approval (LOA) date from the calendar control. - Contract Termination Date
Select the date from the calendar control. A contract termination date is a date outlined in the prime where all parties have met all contractual obligations and terms. - Delivery Date
Select the date from the calendar control.
Modifier les inclusions et les exclusions
Contract inclusions and exclusions vary from project to project. However, the intent is to define exactly what is included and NOT included in the contract's price and scope of work. To update the contract's 'Inclusions and Exclusions' card, do the following:

- Inclusions
Add the contract's inclusions in this box. You can apply the options in the formatting toolbar to your text. - Exclusions
Add the contract's exclusions in this box. You can apply the options in the formatting toolbar to your text.
Modifier la méthode comptable
Modifier la ventilation des coûts
Lorsque vous modifiez une VDC, vous disposez des options suivantes :
Modifier un poste
Vous pouvez modifier un poste existant à l'aide de la fonction d'édition en ligne. Il suffit de cliquer sur l'une des cellules de données et de remplacer le contenu existant.
Ajouter et supprimer des postes
- Accédez au contrat.
- Cliquez sur l'onglet Ventilation des coûts.
- Cliquez sur les points de suspension verticaux (⋮). Choisissez ensuite l’une de ces options :
- Ajouter au-dessus. Sélectionnez cette option pour ajouter un poste au-dessus du poste actuel. Les postes ajoutés sont enregistrés dans l'onglet « Historique des changements » du contrat.
- Ajouter au-dessous. Sélectionnez cette option pour ajouter un poste au-dessous du poste actuel. Les postes ajoutés sont enregistrés dans l'onglet « Historique des changements » du contrat.
- Supprimer. Sélectionnez cette option pour supprimer le poste actuel. Les postes supprimés sont enregistrés dans l'onglet « Historique des changements » du contrat.
- Cliquez sur Enregistrer.
Réorganiser les postes
Pour déplacer un poste en tête de liste, cliquez sur la cellule que vous souhaitez déplacer. Tapez ensuite « 1 » dans la liste. La ligne sélectionnée est ainsi déplacée en tête de liste et tous les postes existants sont remis dans l'ordre croissant.
Modifier les pièces jointes
Vous pouvez ajouter ou supprimer des pièces jointes à partir d'un contrat principal. Vous pouvez ajouter et supprimer des pièces jointes lorsque le contrat est dans un statut quelconque.
Ajouter des pièces jointes
To add file attachments to a prime contract:
- On the 'Attachments' card, click Edit.
- Click Attach Files.
- In the 'Attach Files' dialog box, highlight the location where the files to upload are stored. Options include:
- My Computer. Click Upload Files to open your computer's finder. Select the files to upload and click Open.
- Photos. If the Photos tool is active on the project, choose the location from the Select Album list and then search for the file(s) to upload.
- Drawings. If the Drawings tool is active on the project, choose the area from the Select Area list and then search for the file(s) to upload.
- Forms. If the Forms tool is active on the project, choose the template from the Select Template list and then search for the file(s) to upload.
- Documents. If the Documents tool is active on the project, navigate to the folder storing the file(s) to upload and then highlight them.
- Click Attach.

A progress indicator shows you the status of the upload. - Click the Close (X) icon on the Attach Files dialog box.
Supprimer les pièces jointes
Pour supprimer une pièce jointe :
- Sur la fiche « Pièces jointes », cliquez sur Modifier.
- Cliquez sur (x) sur le fichier que vous souhaitez supprimer.

- Sur la fiche « Pièces jointes », cliquez sur Enregistrer.